 Tax Region


Motorbike Pre-Ride Inspection Checklist
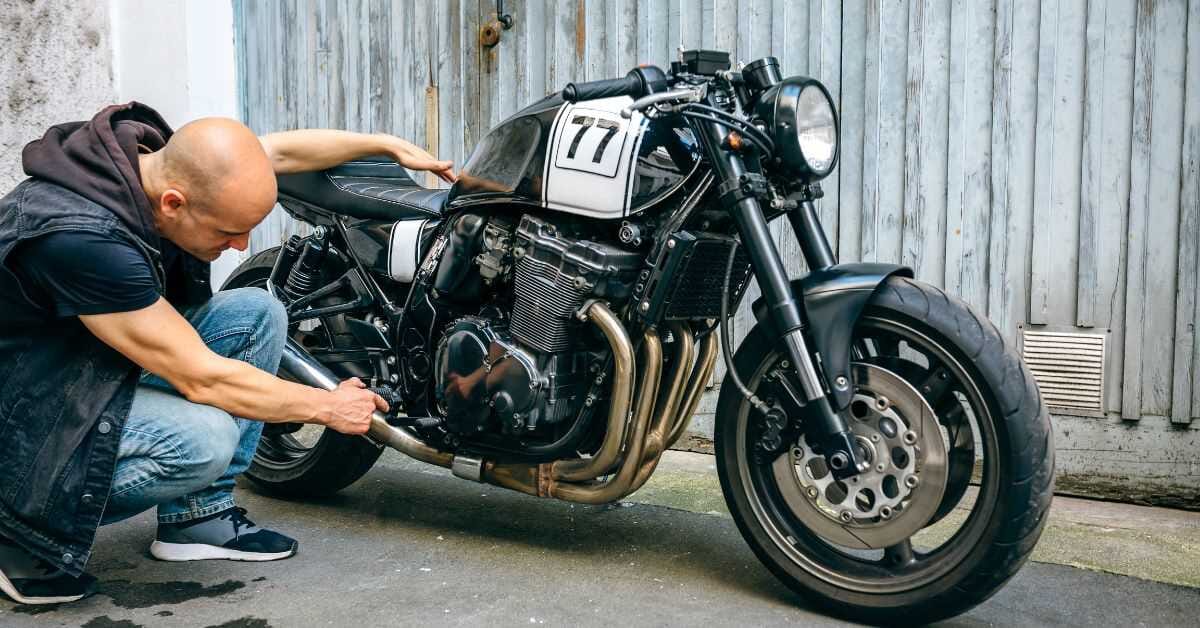
POWDERS: the pre-ride checks every motorcyclist should be doing
We’re all told to do it from the moment we start learning to ride, but we’d hazard a guess that few riders bother to check their bikes before hitting the road.
Though it sounds like a hassle, a pre-ride inspection doesn't have to be time-consuming, and alongside the obvious safety benefits, can end up saving a whole load of time and stress. Even a minor issue, like a blown bulb, can delay or even halt a journey altogether.
Using the acronym 'POWDERS' - which stands for Petrol, Oil, Water, Damage, Electrics, Rubber and Steering - as a guide will help you cover all the essential elements, without getting carried away.
P = Petrol
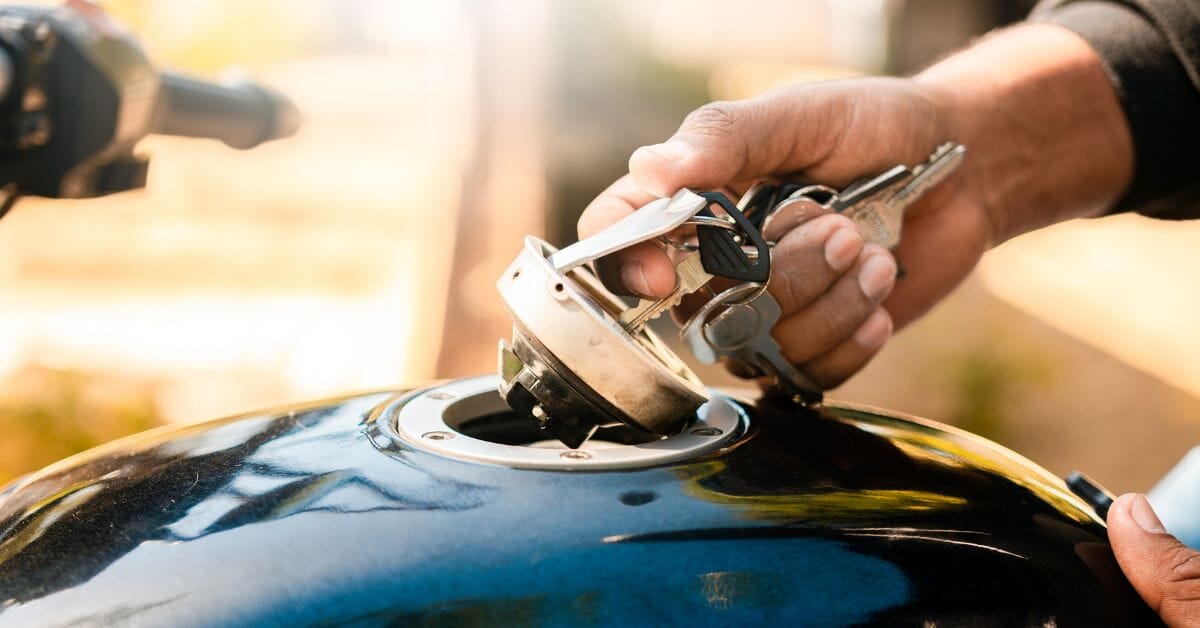
The obvious check before any ride is to make sure you have enough fuel to start your bike and get where you’re going - or at least to the nearest petrol station. Less clear is whether the fuel in your tank is in a suitable condition. If your bike has been sitting unused for a while, the petrol in the tank could be stale, or may have absorbed moisture during storage. E10 unleaded is particularly susceptible to this, due to the amount of bio ethanol added to it.
O = Oil
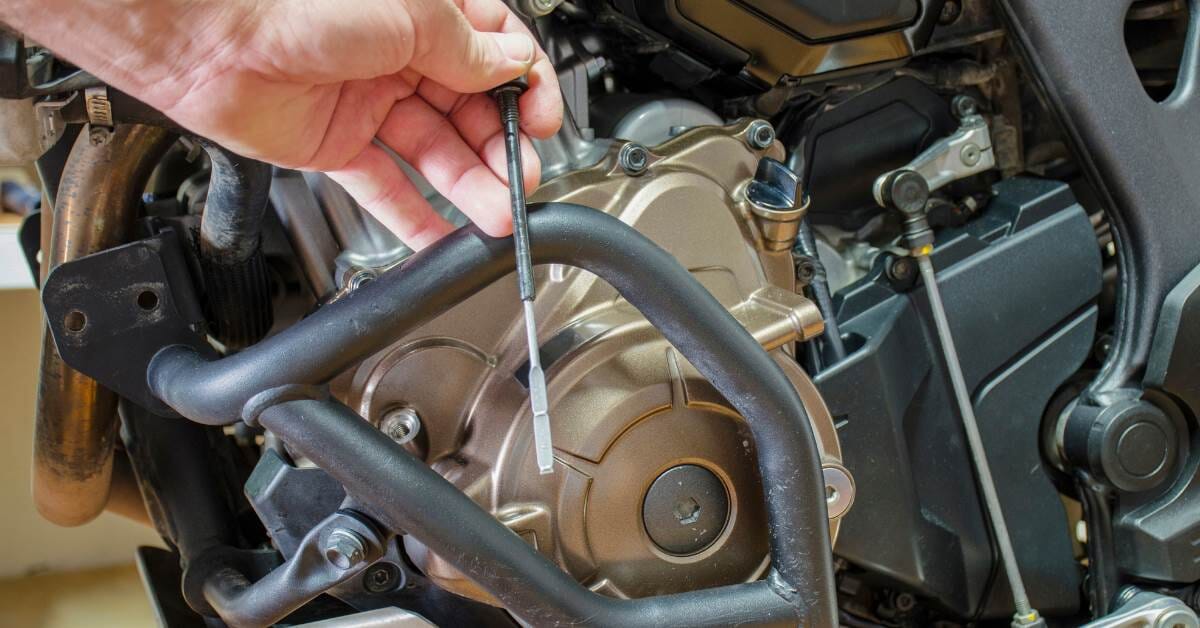
Next, check the engine oil level. Remember to have the bike on its centre stand (or a paddock stand) and on level ground. Some engines have a dipstick and others have a sightglass in the engine casing. A few engines have a bolt in the casing; if the oil level is correct, a small amount should dribble out when this is removed. Your owner’s manual will tell you how much oil the engine should contain. It’s also a very good idea to check the brake fluid level in the reservoirs - also usually done via a sightglass.
W = Water
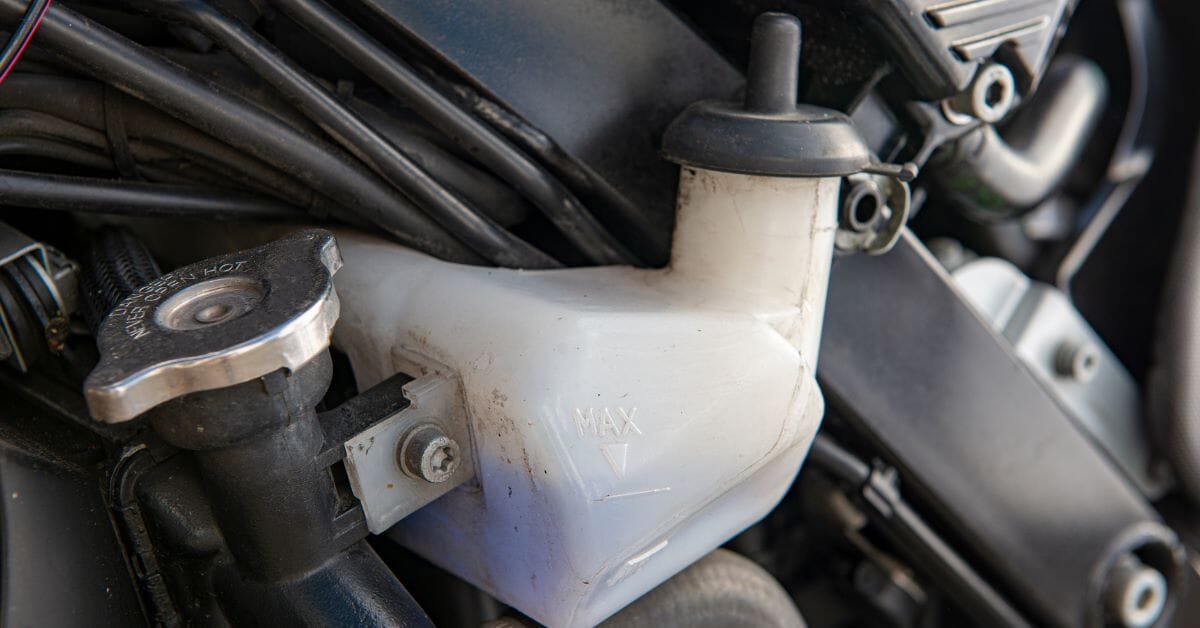
On liquid-cooled bikes, check the coolant, again with the bike level. Always top up with a mix of distilled water and antifreeze, and not just tap water, because antifreeze keeps the coolant from both freezing and overheating. It's also worth checking if the mix or strength is correct. You can buy a handy little tester from most motorcycle shops to do this.
D = Damage
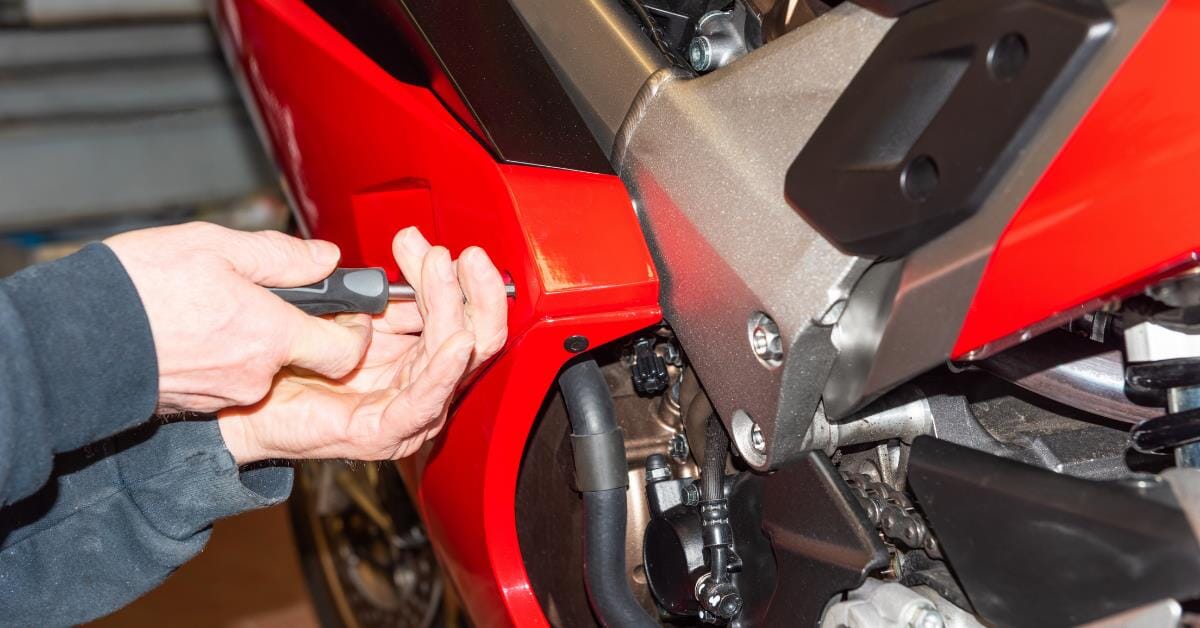
It’s always a good idea to have a quick visual check for damage and overall condition. This doesn’t have to take forever, just a quick walk round the bike checking for loose or cracked body panels, light lenses and mirrors, missing bolts, dents to wheel rims and any other obvious issues. Pay particular attention to your brake and clutch cables or hoses; looking for bulges, cuts, perishing and corrosion to fittings.
E = Electrics
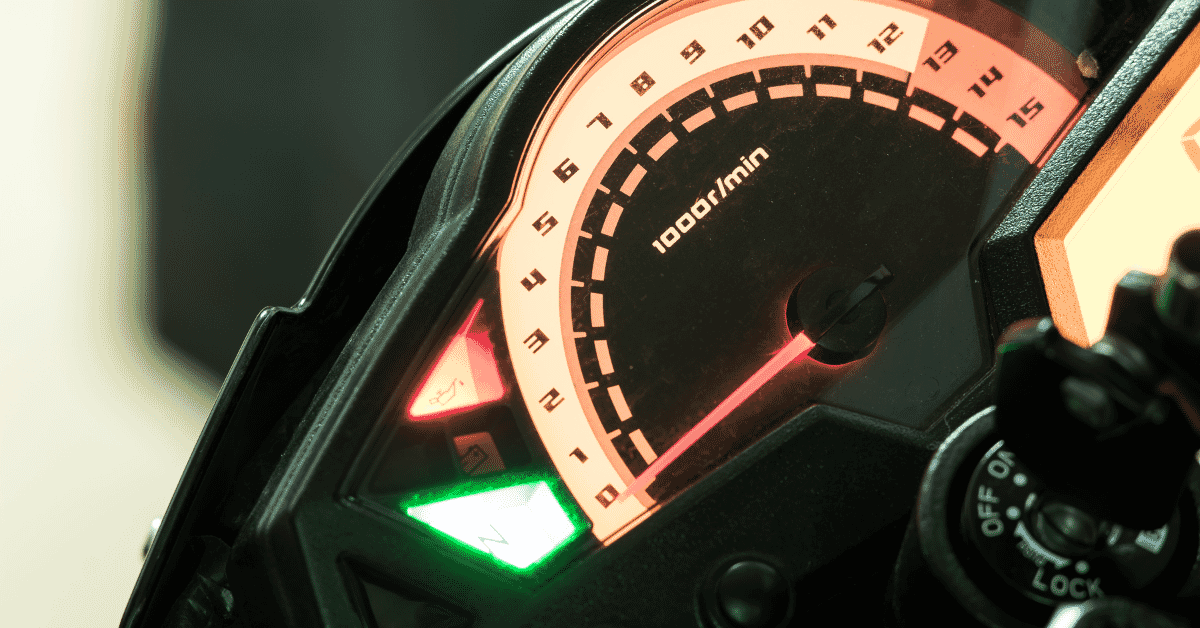
After this, make sure all the lights are functioning as they should, including the warning and indicator lights on the dash. Remember to check both the front and back brake and give the horn a quick press too.
R = Rubber
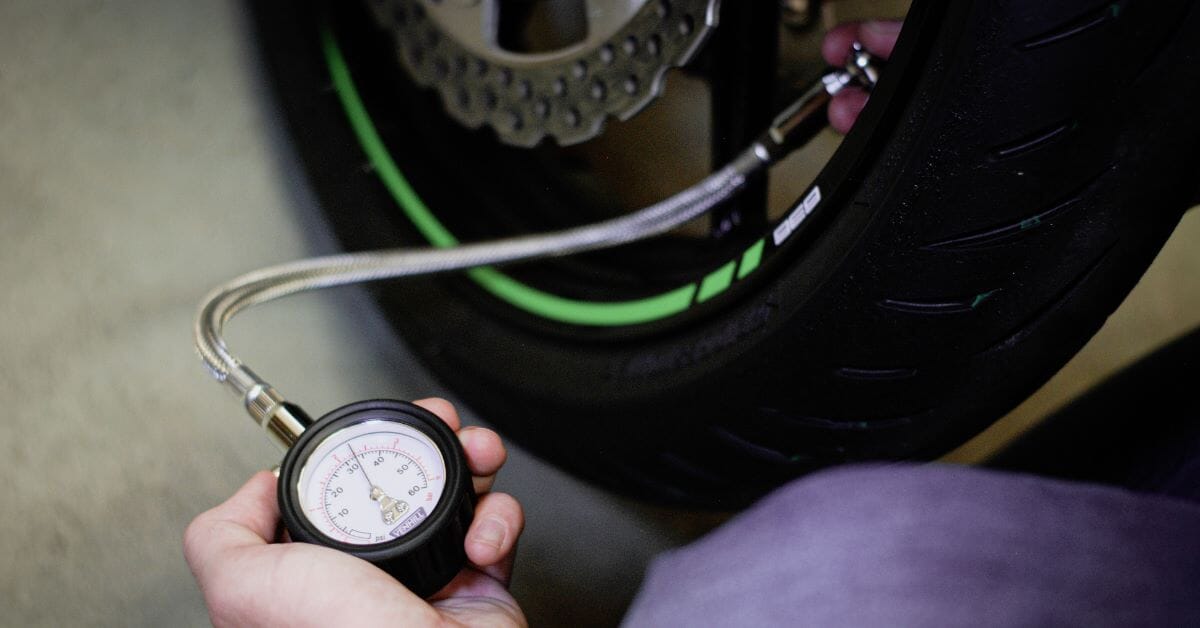
Check the tyre pressures are correct using a reliable pressure gauge, like the Venhill VT32. Do this with cold tyres, since the pressure will read higher when they're hot. Also, place a bit of spit on your finger and smear it into the valve to make sure it’s airtight, (if it bubbles, air is leaking out). Inspect the tread - the minimum for motorcycle tyres in the UK is 1.0 mm - and both sidewalls for cracks, cuts or perishing due to age, plus any foreign objects, like nails and screws.
S = Steering
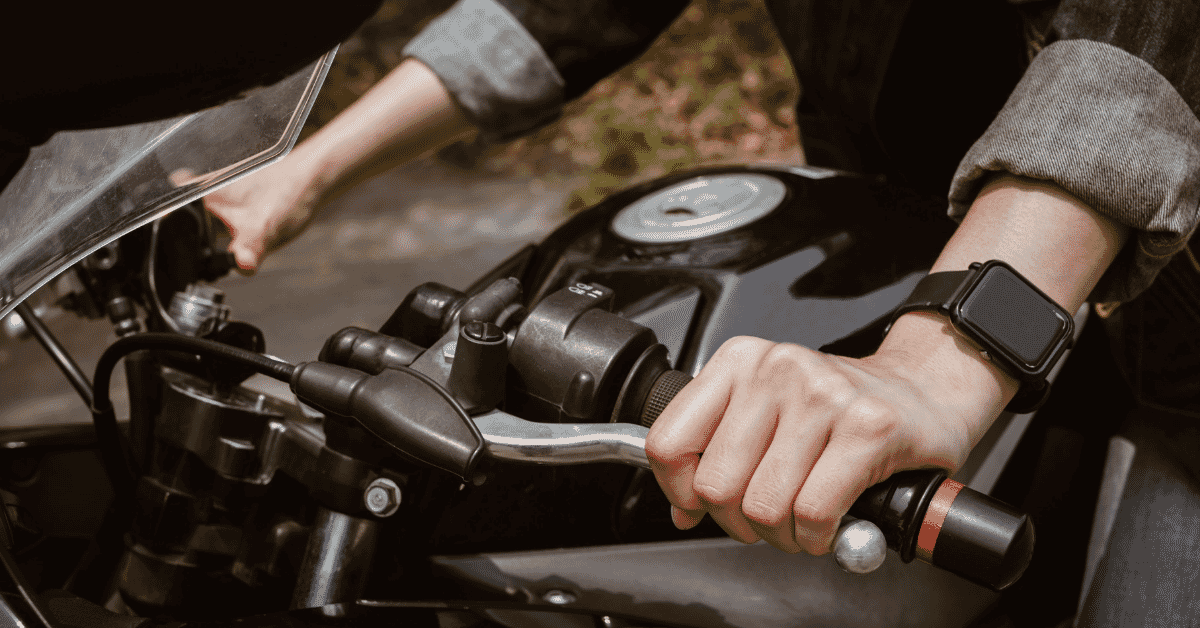
Finally, turn the handlebars lock-to-lock, checking for any notches or a rough feel, which could indicate bearing problems. As you do this, make sure all cables or hoses are routed correctly, and the controls operate freely and are properly adjusted. It’s also a good idea to have a quick test of the brakes; gently roll the bike forward and try both the front and rear in turn.
And that's all there is to it. There’s no hard and fast rule about how frequently you need to make these checks, but most advanced motoring organisations recommend doing it regularly. This should only take a couple of minutes and will become second nature after a few times. Happy inspecting and safe riding!

- [email protected]
- +44 (0) 1306 885111
- Venhill, 21 Ranmore Rd Dorking, Surrey, South East England, RH4 1HE, GB,