How to use a Brake Bleeder Kit

Method for a Venhill Brake Bleeding Kit (other kits may differ):
-
Put the bike on its centre stand - or a paddock stand - so it is upright and level. Make sure you have plenty of light and space to work in. Cover the tank and headstock area with an old towel or cloth, and pop on your protective gloves.
-
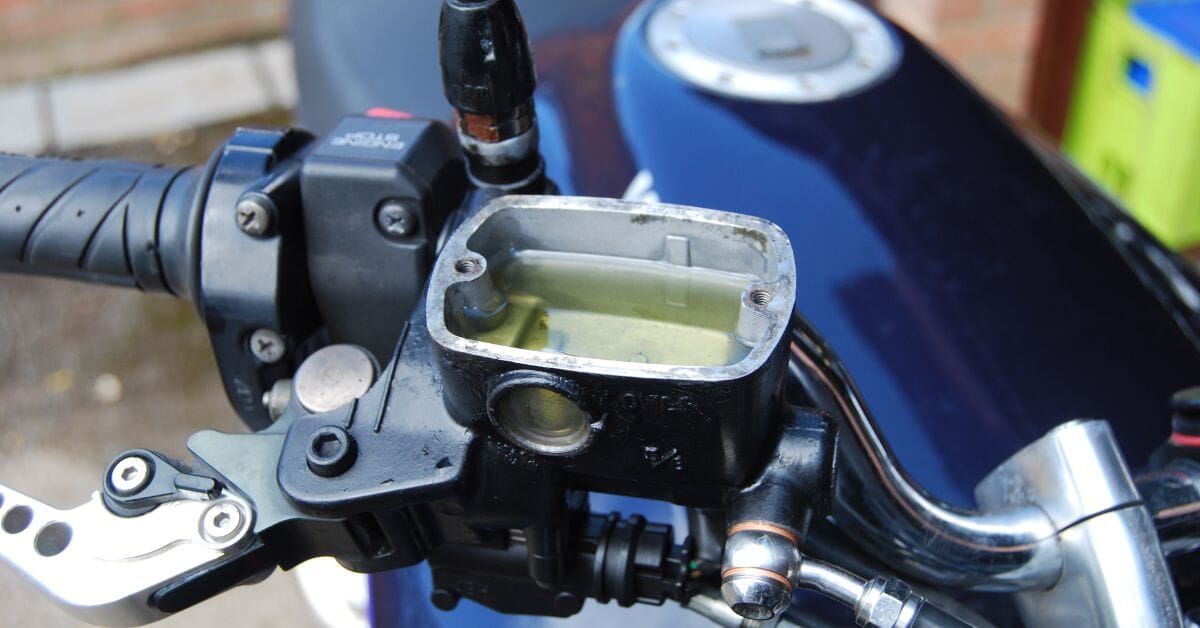
Start with your front brake. Remove the brake reservoir lid; this will either be screwed off by hand or held in place with two screws or Allen Bolts. There will often be a rubber diaphragm underneath this, remove this too.
-
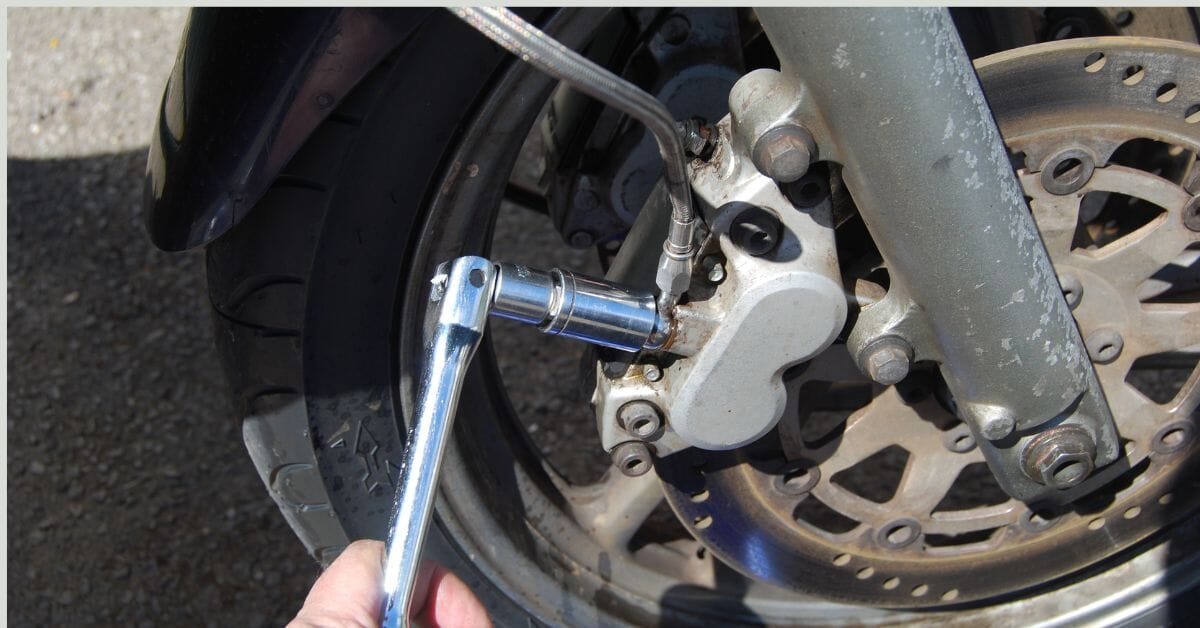
Down at the brake calliper, remove the rubber grommet protecting the bleed nipple. Place your ring spanner on the nipple so that it can be loosened a few degrees without hitting anything. Find a suitable adapter from the kit (our kits have 14, making it easy to find one that fits perfectly on your bike), then attach the bleeder adapter to it.
Tip - Some rear callipers are fitted with two bleed nipples. If this is the case, use the one in the highest position, as this will help remove air out of the system.
-
Squeeze the lever of the brake bleed kit until the gauge reads between 15 and 20 psi, then loosen the bleed nipple by ¼-½ a turn. You should start to see the old brake fluid being ‘sucked’ out of the system into the Bleed Kit’s collection chamber and the pressure gauge on the kit starting to go down. As you do this, keep adding new brake fluid to the master cylinder reservoir as it drops.
-
When the pressure gauge reads zero, close the bleed nipple and pump the gauge again. Repeat the process until the new brake fluid starts to flow into the collection chamber.
Tip - Ensure the collection chamber does not overfill to the top otherwise brake fluid will get into the pump. Old brake fluid should always be taken to a certified waste disposal centre.

-
Fresh fluid looks lighter than old fluid, so when you see the colour change - and no more air bubbles - in the transparent pipe, tighten the nipple up, check the master cylinder level is where it should be and remove the bleeder adapter from the nipple. If you have twin discs on the front, repeat the process on the other side. The process is also the same for rear brake systems.
-
If bled properly, the brake lever and/or pedal should feel firm with no sponginess. Make sure the reservoir(s) are filled to the correct level. Refit any diaphragms and reservoir caps, wipe up any spillages and visually inspect for leaks.
Venhill Vampire Brake Bleeder Kit
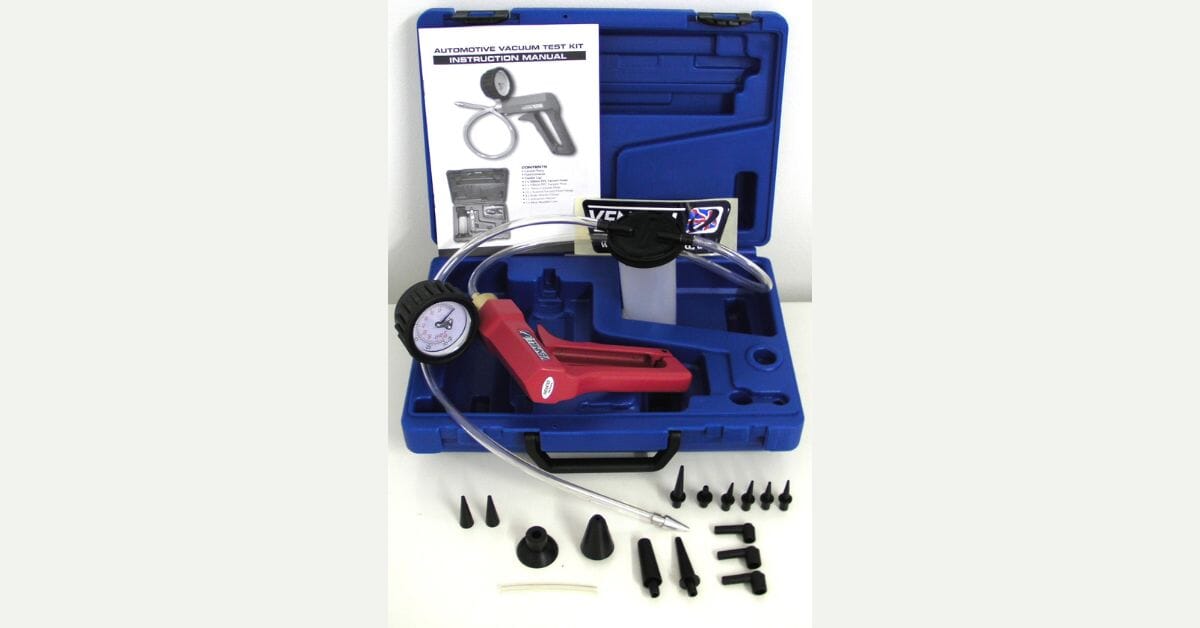
The Venhill Vampire Vacuum Pump Brake Bleeder Kit features quality tubing and a sturdy metal pump and easy-to-read pressure gauge. It comes with 14 adapters, to suit most common bleed nipples, clear hosing to make it easy to monitor the fluid coming out, and step by step instructions. Find out more HERE


