 Tax Region


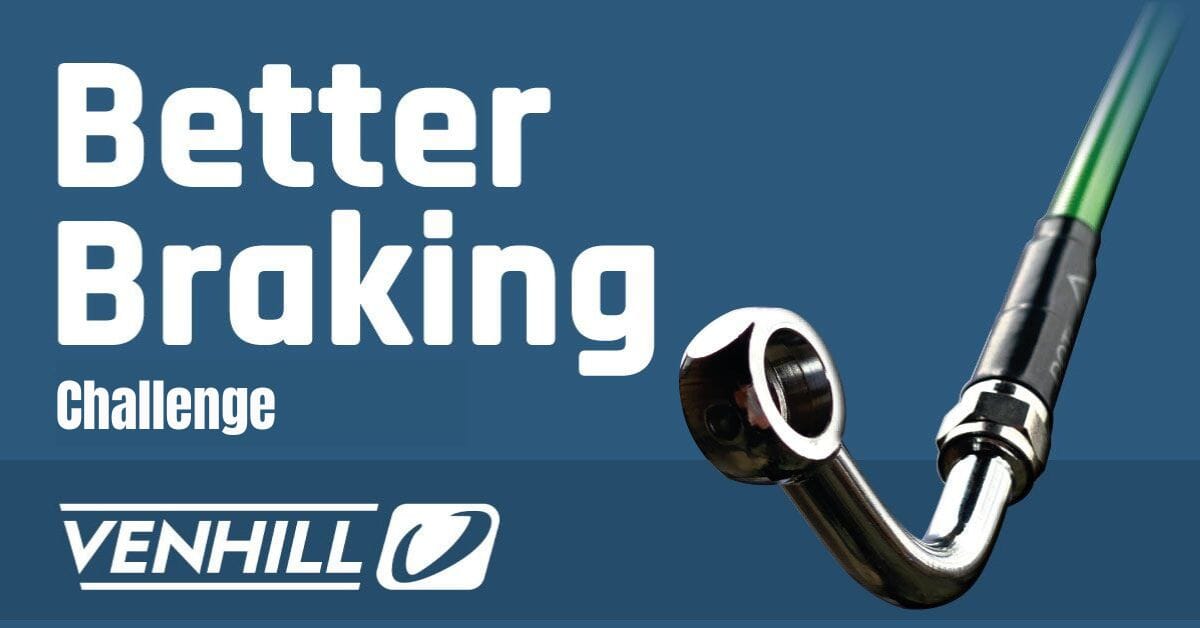
Replacing a motorcycle brake hose
Most bikes are fitted with rubber brake lines as standard; fine for a while, but after a bit of time and use, they have a tendency to perish and weaken, which can reduce braking performance. So, it’s important to check the condition regularly and, when the time comes, replace with good quality braided hoses.
Why braided hoses? Braided lines are designed to last a lot longer than the rubber type as they won’t perish or weaken. Venhill lines also come with low friction Teflon coating inside for better performance, and the braid stops the hose expanding, so a great deal more of the braking force is transmitted to the calliper.
Venhill hoses use marine-grade stainless steel, so they’re more corrosion resistant than other brands. They also feature a PVC jacket bonded to the braid to further limit wear and deterioration due to sunlight, water, and road debris.
How often do motorcycle brake hoses need replacing?
The amount of time a brake hose lasts will depend upon a number of factors - the quality and age of the hose, how and where the motorcycle is ridden, and if the hoses and fittings have been properly maintained.
Braided stainless steel hoses are more durable and tend to last for longer. As a general rule - and if treated correctly - most brake hoses will need replacing after 4-6 years, but the higher the quality of the hose, the longer it will last.
How do I know if my brake hoses need replacing?
Although built fairly tough, rubber hoses will degrade over time. Older hoses tend to ‘bellow’ under pressure, which dissipates the force being applied to the brake, reducing efficiency and giving a spongy feel to the brake lever or pedal.
Checking the condition of your motorcycle’s brake lines
You can check the condition of your bike’s hoses quickly and easily, by gripping the hose with your hand while pressure is applied to the brake lever/pedal. If you can feel the hose expanding a replacement braided stainless steel line would improve the braking.
While you’re there, check the hose for general damage / wear. Give the hose and fittings a wipe over to remove any road grime, and look for any cracks, cuts or perishing.
Get your hands in there and feel along the hose. If you come across something that doesn’t feel quite right; bulges, soft spots etc. it’s worth investigating further.
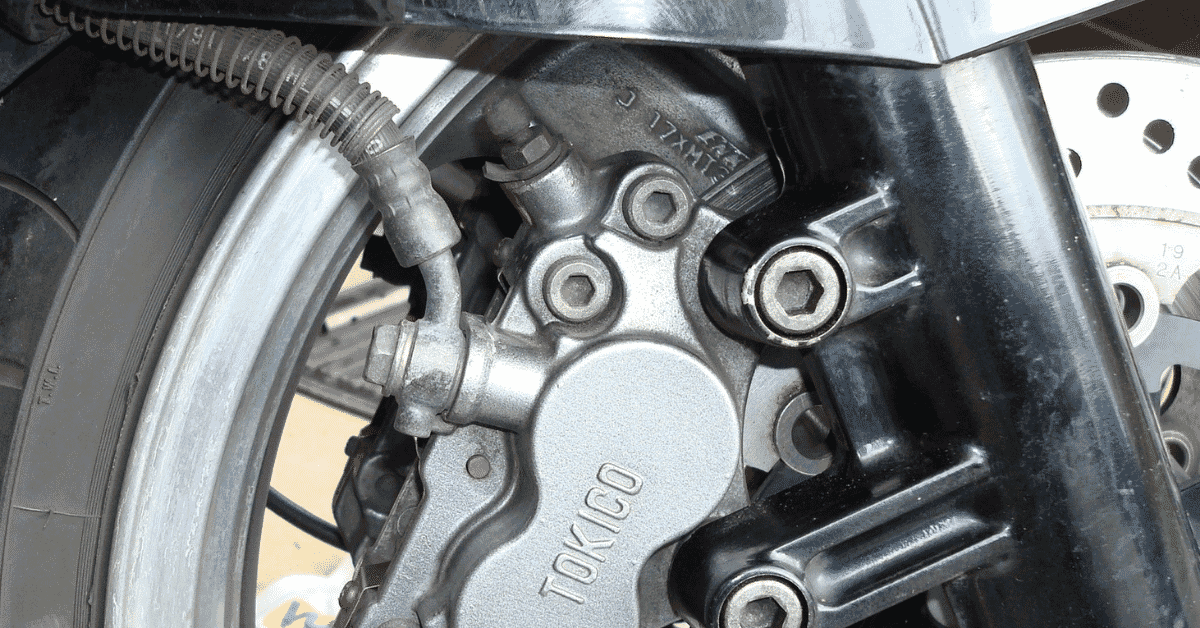
Have a good look at the fittings too, checking for corrosion, cracks, misalignment, and leaking fluid of course.
How to replace a motorcycle brake hose
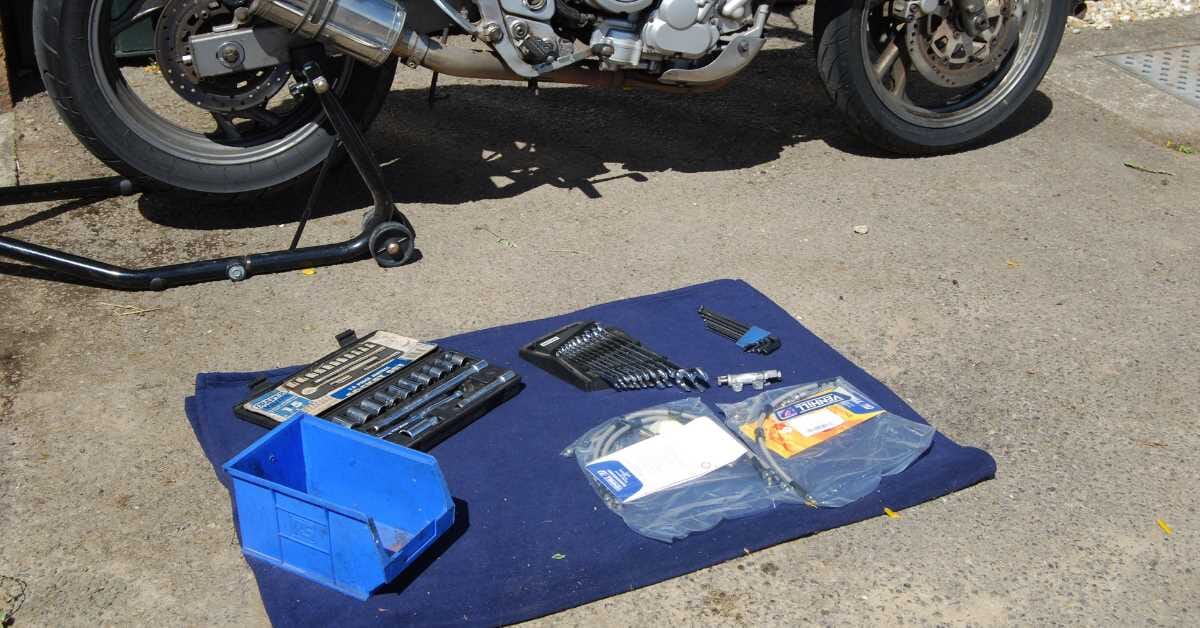
As with any maintenance or servicing task, the first job is to make sure your bike is nice and clean, secured on the stand and you have plenty of room and light to work in. It’s also good practice to lay out your tools, so they’re all to hand; you’ll need something to remove the hose fittings, the correct size sockets for the banjo bolts, a ratchet for loosening, and a torque wrench for tightening.
We’d also recommend having a couple of small polythene bags, some elastic bands, a piece of clear tubing to fit over the bleed nipple and an empty jam jar – we’ll go into why you need those later on – and some cloths to mop up any spilled brake fluid, of course.
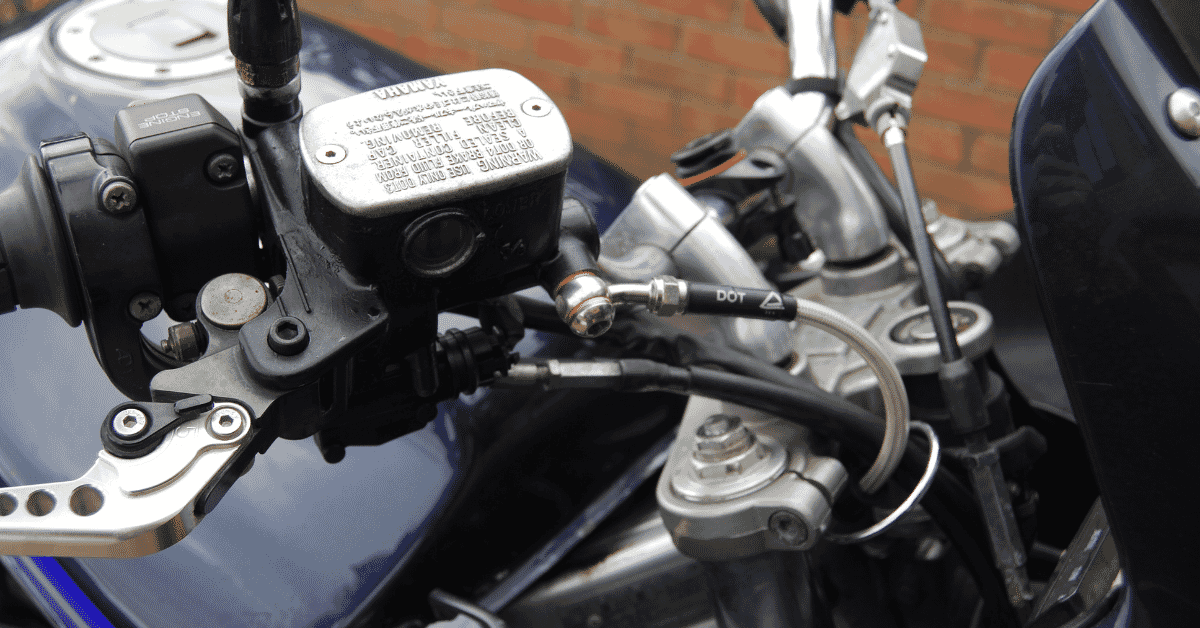
1 Before you start to remove the hose, make sure the old and new hoses, banjos, bolts and other fittings all match, then release any clips holding it to the bike, and remove the top of the master cylinder.
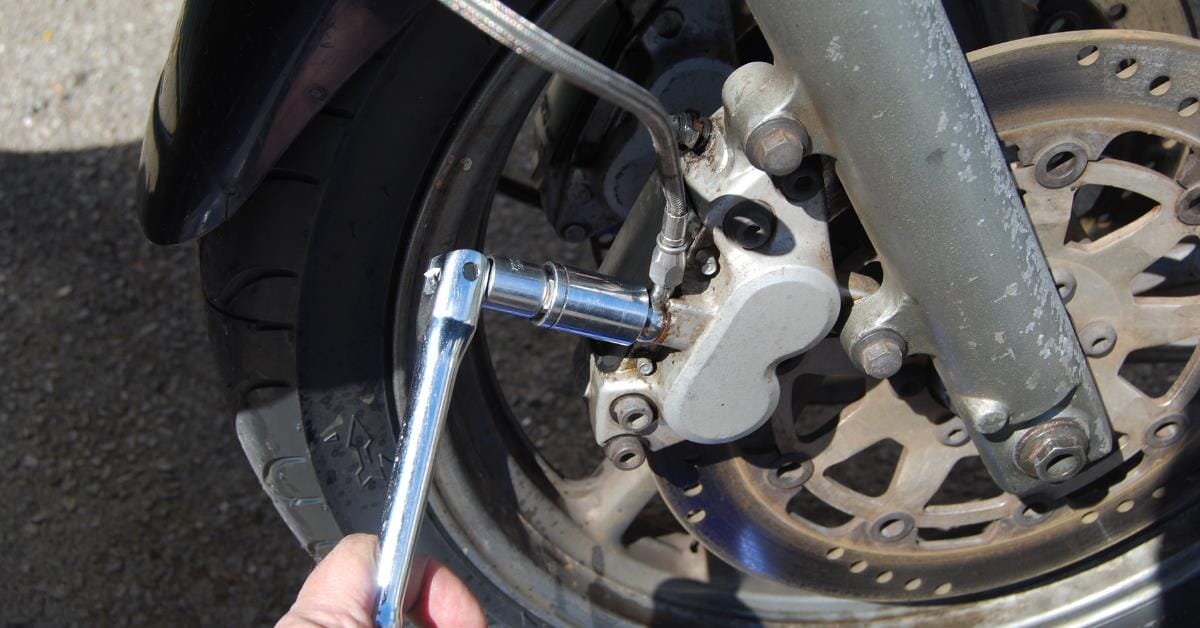
2 Next, remove the lowest calliper banjo bolt and place the hose end in a plastic bag, secured by an elastic band to catch the fluid inside it.
3 Release the banjo bolt at the master cylinder. Some of the fluid in the system will run into the plastic bag on the end of the line. You’ll notice there’s still a fair amount of fluid left in the master cylinder. It’s important to leave that where it is – so don’t operate the brake lever.
4 Fit the new hose to both the master cylinder and calliper end. Make sure you remember to put the washers supplied with the hose. Venhill lines have stainless steel swivel nuts at each end of the lines, leave these finger-tight for now.
5 Once they’re in place, fit the hose to each end, using the swivel nuts. Again just finger-tight for now. Make sure the hose routes where the old one did, and that it’s not catching or snagging on anything. Once you’re happy, tighten the hose onto the banjos using a spanner. Be careful not to overtighten these, as they can damage easily.
6 Next, tighten each of the banjos. It’s important to get these just right, so these are best done with a torque wrench. Set to the correct amount and tighten until the ‘click’.
7 Once they're nice and tight, check that the hose is still routing correctly and isn’t catching or snagging. Remember to test this on full lock and, if you can, on full suspension travel.
If your bike has a hose on both sides, simply repeat the process for the other side. The next step is to bleed the braking system, which is explaned HERE.
Watch the video
Boost your motorcycle’s braking performance with quality braided brake lines
At Venhill, we’ve been helping motorcyclists upgrade their braking performance with top quality brake lines and hoses for 50 years. Designed in the UK with durability and efficient fluid flow in mind, our products exceed American DOT and German TUV requirements. We also pressure test our hoses to 1500 psi and test random hoses to 10,000psi every 30 days.
Explore our range of self-assembly brake lines or visit our Part Finder to browse our Powerhose Plus Braided Hoses.
Alternatively, you can use our Line Builder Tool and have your fittings custom-made by us.
Our Vampire Vacuum Pump Brake Bleed Set is the ideal solution if you’re after simple, quick and efficient single-handed brake bleeding.
Note: always follow the instructions supplied with the product, as well as consulting the owner’s manual for your particular bike. And if you’re not completely confident, we’d advise consulting your local motorcycle dealer or a qualified motorcycle mechanic.
Now take the test
- [email protected]
- +44 (0) 1306 885111
- Venhill, 21 Ranmore Rd Dorking, Surrey, South East England, RH4 1HE, GB,