 Tax Region


Motorcycle Brakes Masterclass | Venhill Brake Lines & Cables
Would you like to know how the brakes on your motorcycle work and learn how to maintain and improve them? With more than 50 years experience making high quality control cables and hoses, the team at Venhill has built up a detailed knowledge of motorcycle brake systems, and they are sharing it with you in this mini masterclass.
Find out about braided brake lines, master cylinders and brake fluid, as well as how to replace brake hoses and bleed the system.
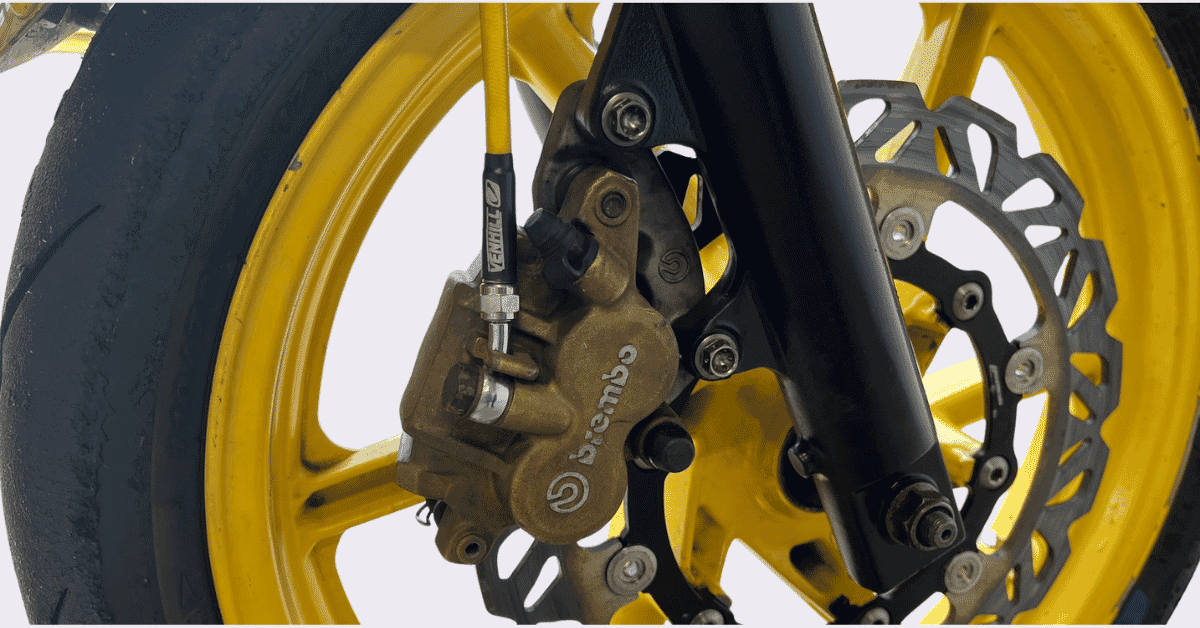
The Motorcycle Disc Brake System
Disc brakes, now standard on motorcycles, first appeared on cars in 1902 and on a mass-produced motorcycle, the Honda CB750, in 1969. Their operation relies on Pascal’s Law, which states that pressure applied to a confined fluid is transmitted equally throughout.
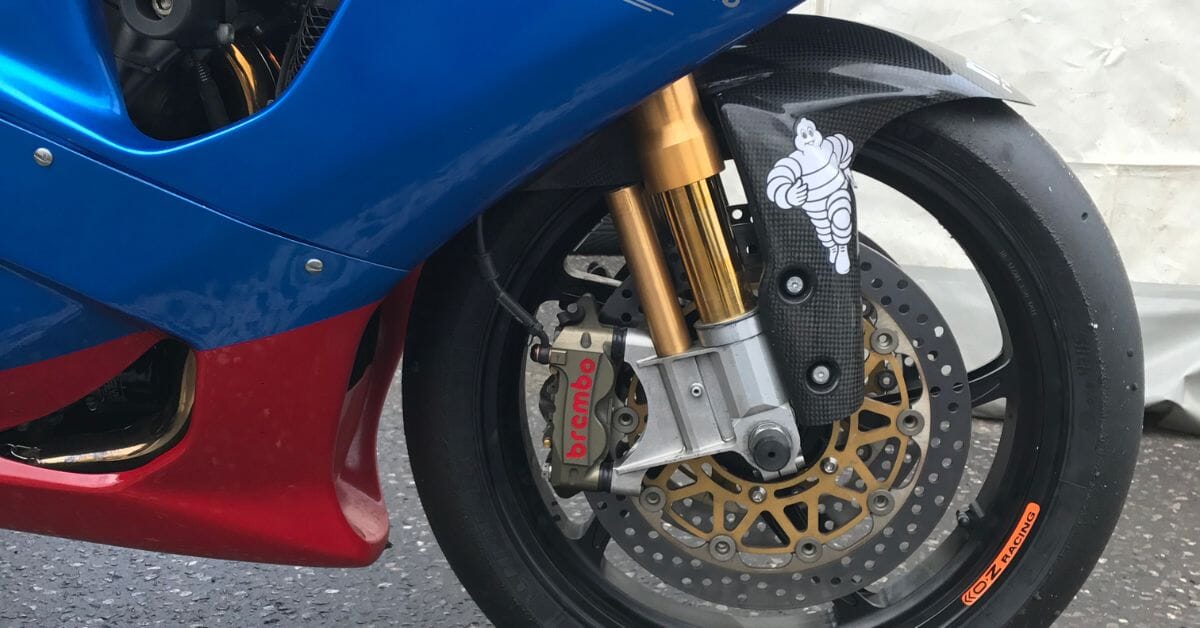
When the rider squeezes the brake lever, a piston in the master cylinder compresses brake fluid. This pressurized fluid travels through hoses to the brake callipers. The callipers then push the brake pads against the spinning disc, creating friction that slows the wheel.
Key components include the master cylinder and lever, which convert rider input into hydraulic pressure; hoses that carry the fluid; callipers that clamp the pads onto the disc; and the brake pads and discs themselves, which generate the necessary friction.
This system is a significant improvement over older drum brakes, which use shoes pushed against the inside of an enclosed drum. While simpler, drum brakes are less efficient at dissipating heat and more prone to overheating. Disc brakes offer superior performance and are crucial for modern motorcycle safety.
Motorcycle Braided Brake Lines
Fitting braided brake lines is a popular upgrade for motorcyclists looking to improve their braking performance. Unlike standard rubber hoses, which can weaken and expand under pressure, braided lines are reinforced with a tightly woven metal braid. This prevents the "ballooning" effect, ensuring all the pressure from the brake lever is transferred to the callipers.
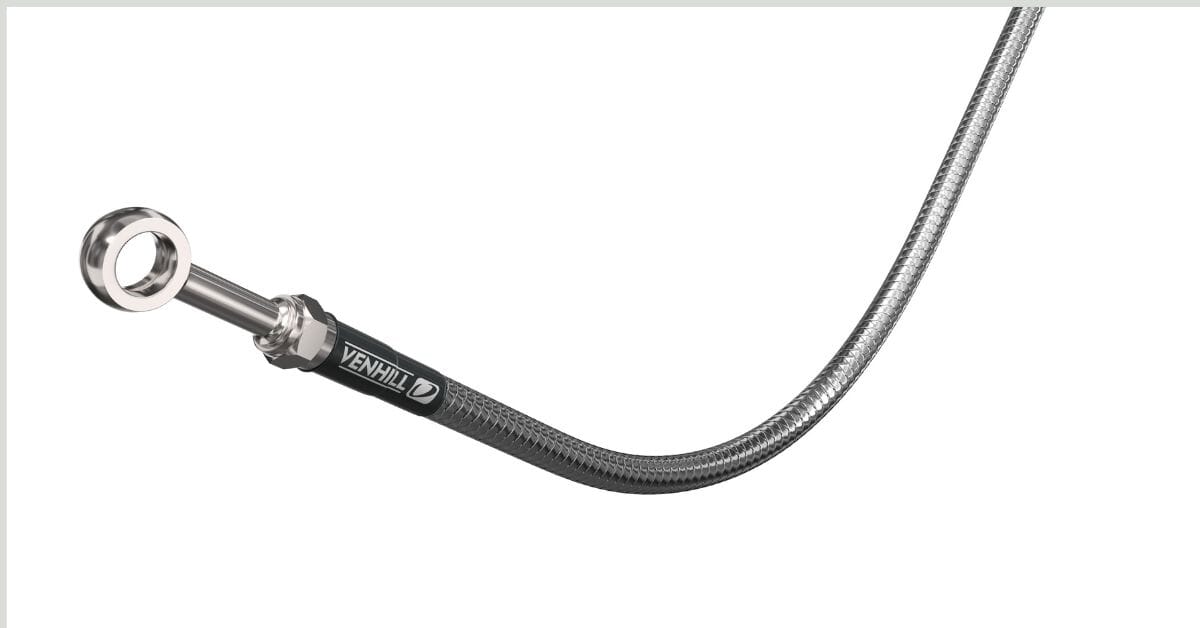
The main benefits of braided lines are a significant improvement in brake feel and a firmer, more responsive lever. They provide more consistent braking and eliminate the soft or spongy feeling common with older rubber hoses. While some high-performance bikes come with braided lines as standard, these are often basic and can corrode over time. Aftermarket braided hoses, especially high-quality ones with a Teflon core and stainless steel fittings, like Venhill Powerhose Plus, offer better heat resistance and are more durable.
Ultimately, high-quality braided brake lines lead to a more direct and reliable braking system, providing riders with better feedback and control.
Motorcycle Brake Master Cylinders
A brake master cylinder is a crucial component of a motorcycle's hydraulic braking system. Located near the brake lever or foot pedal, its primary job is to convert the rider's physical input into hydraulic pressure.
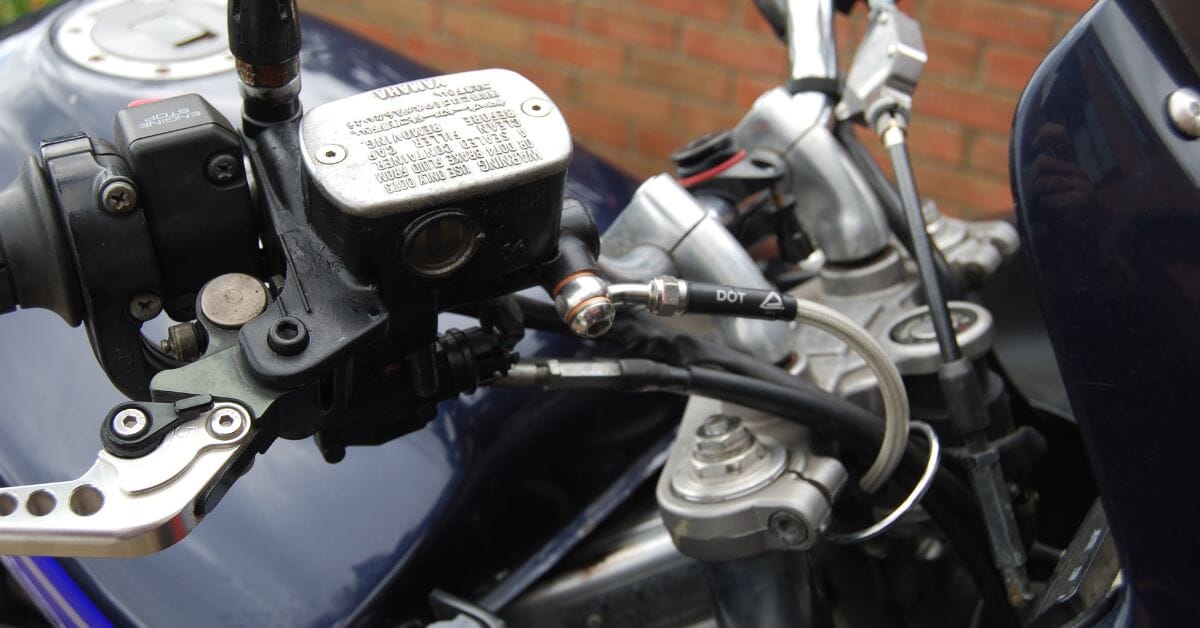
When you squeeze the lever or press the pedal, a piston inside the master cylinder moves, compressing the brake fluid. As this fluid is non-compressible, the pressure is transmitted through the brake lines to the calipers, forcing the brake pads to clamp the discs and slow the bike down. When the lever is released, a spring retracts the piston, disengaging the brakes.
There are two main types of master cylinders: axial and radial. Axial cylinders have a bore at a right angle to the lever, while radial designs have a piston that moves parallel to the lever. Radial master cylinders are favoured for their improved rigidity, which provides a more precise and consistent braking feel.
To maintain a master cylinder, it is essential to use the correct grade of brake fluid and change it regularly. Old fluid absorbs moisture, which can cause internal corrosion and damage the rubber seals, leading to poor braking performance. Often, a "spongy" brake feel is not due to the master cylinder but rather to old rubber brake hoses that are bulging under pressure.
Changing Motorcycle Brake Fluid
Over time, brake fluid absorbs water from the air, a process known as being hygroscopic. This creates two significant problems for a motorcycle's braking system: it can lead to internal corrosion and, critically, it lowers the fluid's boiling point. When the brakes get hot, this water can boil and form vapour bubbles. Since vapour is compressible, this leads to a "spongy" feel at the lever and a dramatic loss of braking power.
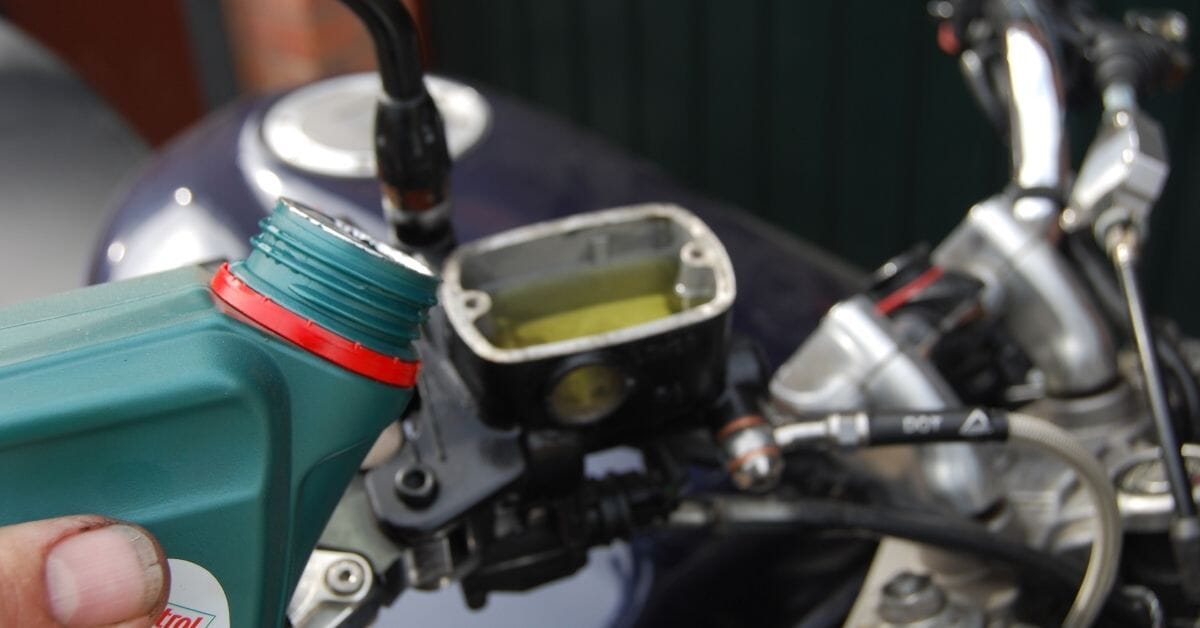
To prevent this, brake fluid should be changed every two years, or more frequently for high-mileage or track-day riders. Replacing it is a DIY task, but it must be done correctly. The process involves bleeding the old fluid from the system and replacing it with new, bubble-free fluid. This requires specific tools, protective gear, and the correct DoT grade of fluid for your bike.
The procedure involves connecting a bleed kit to the caliper's bleed nipple, then pumping the brake lever to flush the old fluid while continuously topping up the reservoir. It is essential to ensure no air gets into the system and that the final lever feel is firm and responsive. If you’re not completely confident, it's always best to have a professional handle it.
How to use a Motorcycle Brake Bleeder Kit
Bleeding your motorcycle brakes using a Venhill kit is a straightforward process to refresh your brake fluid and remove air bubbles. First, ensure the bike is upright and stable on a stand. After covering your paintwork and putting on gloves, remove the brake reservoir lid and diaphragm.
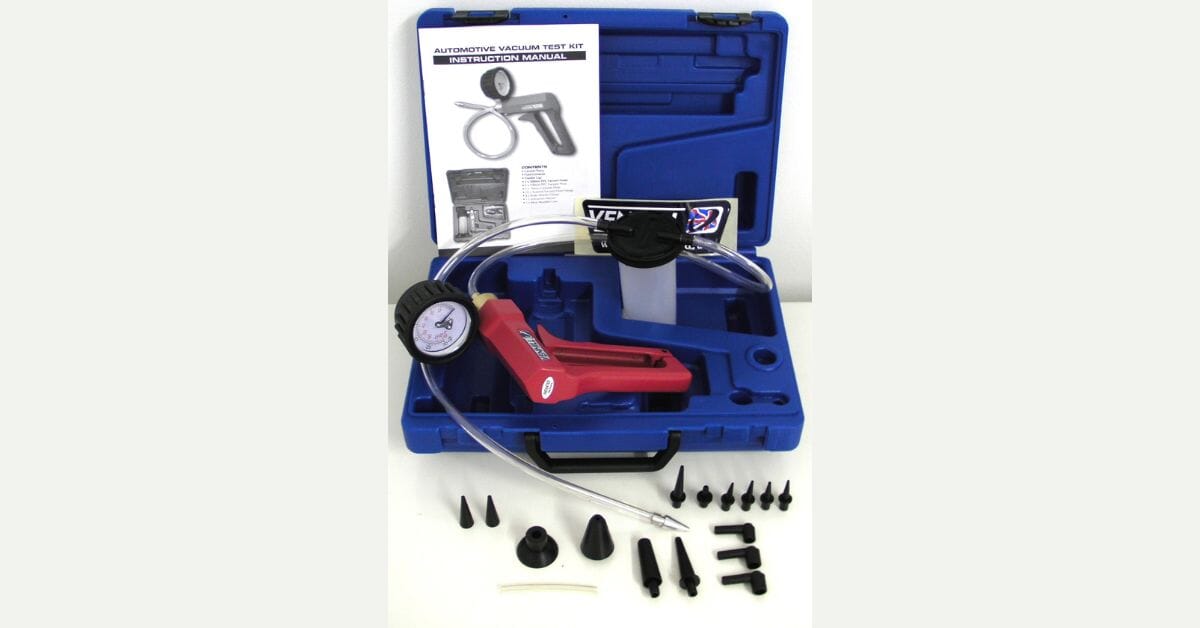
At the calliper, find the correct adapter from the kit and connect it to the bleed nipple, with a spanner already in place. Pump the bleeder kit's lever until the gauge reaches 15-20 psi. Then, open the bleed nipple by a quarter to a half turn. The old brake fluid will be drawn out into the kit's collection chamber. It is crucial to continuously top up the master cylinder with new brake fluid as the level drops.
Repeat this process, re-pressurising the kit and opening the nipple, until the fluid flowing through the clear hose looks fresh and is free of air bubbles. Once complete, tighten the nipple, ensure the master cylinder is filled to the correct level, and reassemble. A successful bleed will result in a firm brake lever with no sponginess. Repeat for any other callipers. Dispose of the old fluid responsibly.
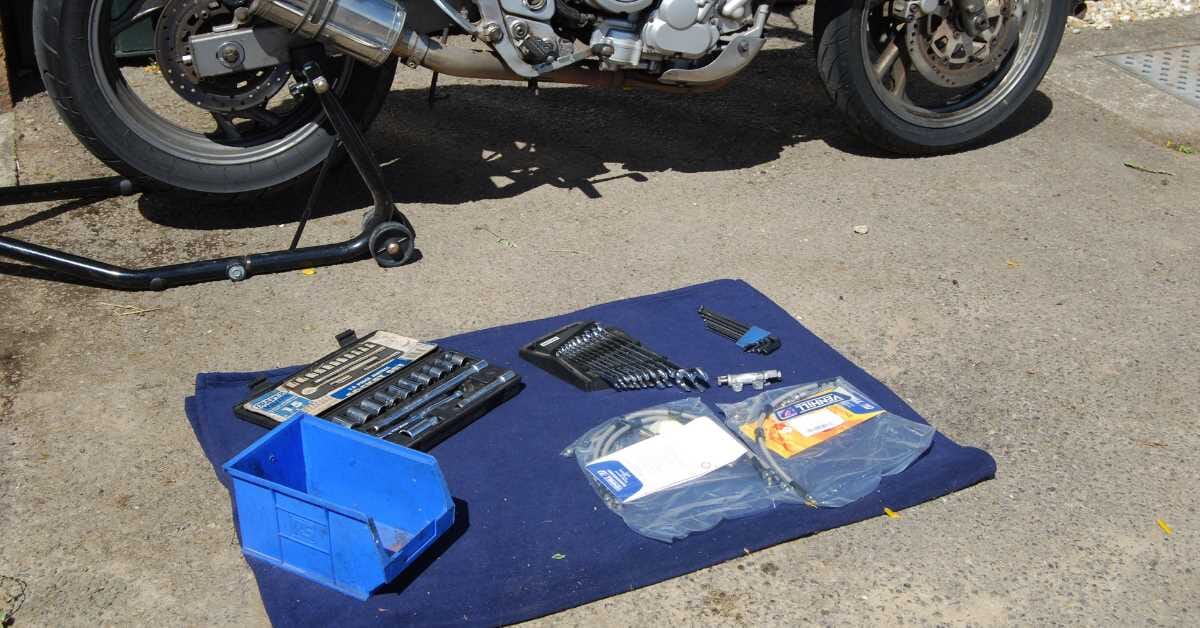
Replacing a motorcycle brake hose
Motorcycle brake hoses, typically made of rubber, degrade over time, leading to reduced braking performance and a "spongy" feel at the lever. This happens because the weakened hoses "bellow" or expand under pressure, dissipating the braking force. Regularly checking your hoses for signs of damage like cracks, bulges, and perishing is crucial. A simple check involves squeezing the hose while applying the brake; if you can feel it expanding, it's time for a replacement.
Braided stainless steel hoses are a superior alternative. They are designed to be more durable and resist perishing. Venhill hoses, for example, feature a low-friction Teflon core and a marine-grade stainless steel braid that prevents expansion, ensuring maximum braking force is transmitted to the calliper. The braided lines are also protected by a PVC jacket, making them more resistant to corrosion and wear from the elements.
When replacing hoses, it's essential to follow the correct procedure, ensuring all fittings are torqued correctly and the hose is routed properly. If you are in any doubt about what to do, then please consult a local qualified mechanic. After fitting the new lines, the brake system must be bled to remove any air, which is the final step to restoring your braking performance.
- [email protected]
- +44 (0) 1306 885111
- Venhill, 21 Ranmore Rd Dorking, Surrey, South East England, RH4 1HE, GB,